--- name: article-generator description: Generate high-quality SEO-optimized articles from reference content, with image placeholders ---
# Article Generator
## Overview Generate high-quality articles following Google SEO best practices by providing keywords, long-tail keywords, and reference content.
## Input Parameters
When executing this skill, the following information is required. If not provided, ask the user:
| Parameter | Required | Description | |-----------|----------|-------------| | Article Title | Yes | The article title, used for H1 and filename slug generation | | Primary Keyword | Yes | Core keyword for the article, featured in title and throughout content | | Long-tail Keywords | No | 2-5 related long-tail keywords to naturally integrate | | Reference Material | No | Reference content, data sources, key points, etc. | | Target Word Count | No | Default 1500-2500 words | | Article Type | No | Tutorial/Comparison/List/Guide/Review (auto-detected from keyword if not specified) |
## SEO Structure Requirements
### Heading Hierarchy (H Tags)
``` H1: Only 1, contains primary keyword, 50-60 characters, click-worthy ├── H2: 3-6 sections, each representing a main topic with keyword variations │ ├── H3: As needed, subdividing H2 content │ └── H3: ... ├── H2: ... └── H2: ... ```
**H1 Title Requirements:** - Use the user-provided Article Title as H1 - Should include primary keyword, preferably near the beginning - Recommended length 50-60 characters
**H2/H3 Title Requirements:** - Each H2 should answer a specific user question - Include natural variations of primary or long-tail keywords - Avoid meaningless numbering like "Chapter 1"
### Frontmatter Format
```yaml --- title: "Article Title" description: "150-160 character description with primary keyword and call-to-action" date: "YYYY-MM-DD" keywords: ["primary keyword", "long-tail 1", "long-tail 2"] --- ```
## Keyword Placement Strategy
### Density Control - Primary keyword density: 1-2% (1-2 occurrences per 100 words) - Avoid consecutive appearances, maintain at least 50-word intervals
### Required Placement Locations 1. **H1 Title** - Near the beginning 2. **First 100 words** - Natural integration 3. **At least 1 H2 heading** 4. **Middle of article** - 1-2 times 5. **Conclusion paragraph** - Natural wrap-up
### Avoiding Keyword Stuffing - Don't repeat keywords consecutively - Don't force keywords unrelated to context - Use synonyms and related terms - Use pronouns to reference mentioned keywords - Distribute long-tail variations throughout
## Content Quality Requirements
### E-E-A-T Principles - **Experience**: Demonstrate real-world usage experience with practical details - **Expertise**: Use accurate terminology, provide in-depth analysis - **Authoritativeness**: Cite credible sources, provide specific examples - **Trustworthiness**: Present objective content, acknowledge limitations
### Audience Adaptation (Mixed Approach) - Start with simple language, quickly explain value - Gradually introduce advanced techniques - Use labels like "Beginner Tip" and "Advanced Tip" to differentiate content levels - Explain technical terms on first use
### Paragraph Guidelines - 2-4 sentences per paragraph, no more than 150 words - Logical transitions between paragraphs - Use **bold** for important points - Use lists appropriately to enhance readability
## Image Requirements
### Image Density - Insert one image every 300-500 words - Long articles (>2000 words) should have at least 4 images
### Image Placeholder Format ```markdown  ```
### Internal Link Placeholders Reserve internal link positions at relevant content: ```markdown [Related: Anchor text with keyword](internal-link-placeholder) ```
### External Link Citations Cite authoritative external sources: ```markdown According to [Source Name](external-url)... ```
## CTA (Call-to-Action)
Articles must end with a clear CTA: - Free tools: Encourage trial - Tutorials: Encourage practice and sharing - Products: Guide to learn more or purchase
Example: ```markdown ## Get Started
Now that you understand the key points of [topic], [Product Name] offers [core value]. [Action verb] now to start experiencing it. ```
## Output Format
### Output Directory Save all generated articles to the `articles` directory: ``` articles/ └── {article-title-slug}.md ```
### Filename Convention Convert user-provided Article Title to SEO-friendly slug: - All lowercase - Replace spaces with `-` - Remove special characters - Keep numbers - Example: Title "Best AI Tools for Beginners" → `best-ai-tools-for-beginners.md`
## Conclusion / Get Started Closing paragraph + CTA ```
## Quality Checklist
Self-check after generation: - [ ] H1 contains primary keyword with appropriate length - [ ] Primary keyword appears within first 100 words - [ ] Keyword density is 1-2% - [ ] At least 3 H2 sections - [ ] Sufficient image placeholders - [ ] Clear CTA at the end - [ ] Filename follows SEO conventions - [ ] Frontmatter is complete - [ ] Article saved to `articles` directory
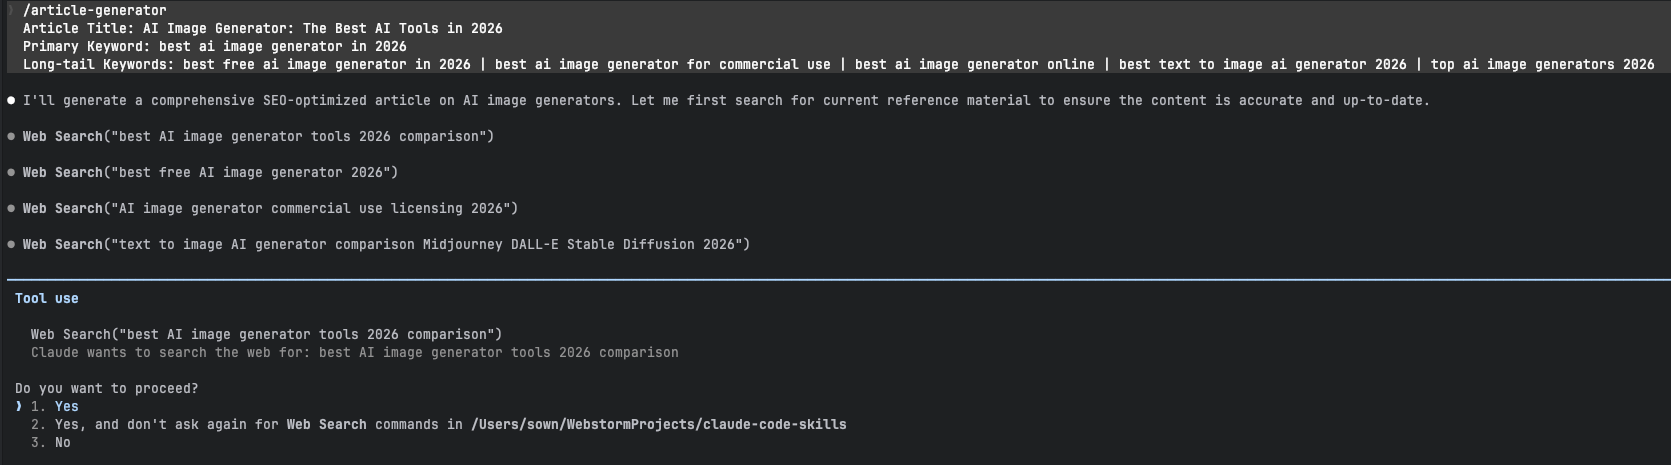
/article-generator Article Title: AI Image Generator: The Best AI Tools in 2026 Primary Keyword: best ai image generator in 2026 Long-tail Keywords: best free ai image generator in 2026 | best ai image generator for commercial use | best ai image generator online | best text to image ai generator 2026 | top ai image generators 2026
执行过程中 Claude 可能会并行发起多个 Web 搜索,请求权限时同意即可:
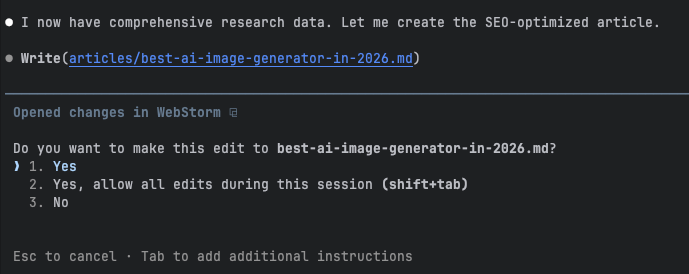
稍等片刻,文章生成完成,在提示是否写入文件时选择 Yes:
此时当前目录中会出现:
1
2
articles/ └── best-ai-image-generator-in-2026.md
打开这个文件,由于正文内容较长,这里只截取其中一小段:
1 2 3 4 5 6 7 8
# AI Image Generator: The Best AI Tools in 2026
Finding the best AI image generator in 2026 can feel overwhelming with dozens of powerful tools competing for your attention. Whether you need stunning visuals for marketing campaigns, creative artwork for personal projects, or commercially-safe images for your business, the right tool exists—you just need to know where to look.
The AI image generation landscape has matured significantly. The era of "prompt and pray" is over. Today's tools deliver consistent, professional-quality results that rival human artists. In this comprehensive guide, we compare the top AI image generators 2026 has to offer, covering free options, commercial-use platforms, and specialized tools for every creative need.

可以看到,除了正文内容已经自动生成之外,图片的占位也一并插入好了。
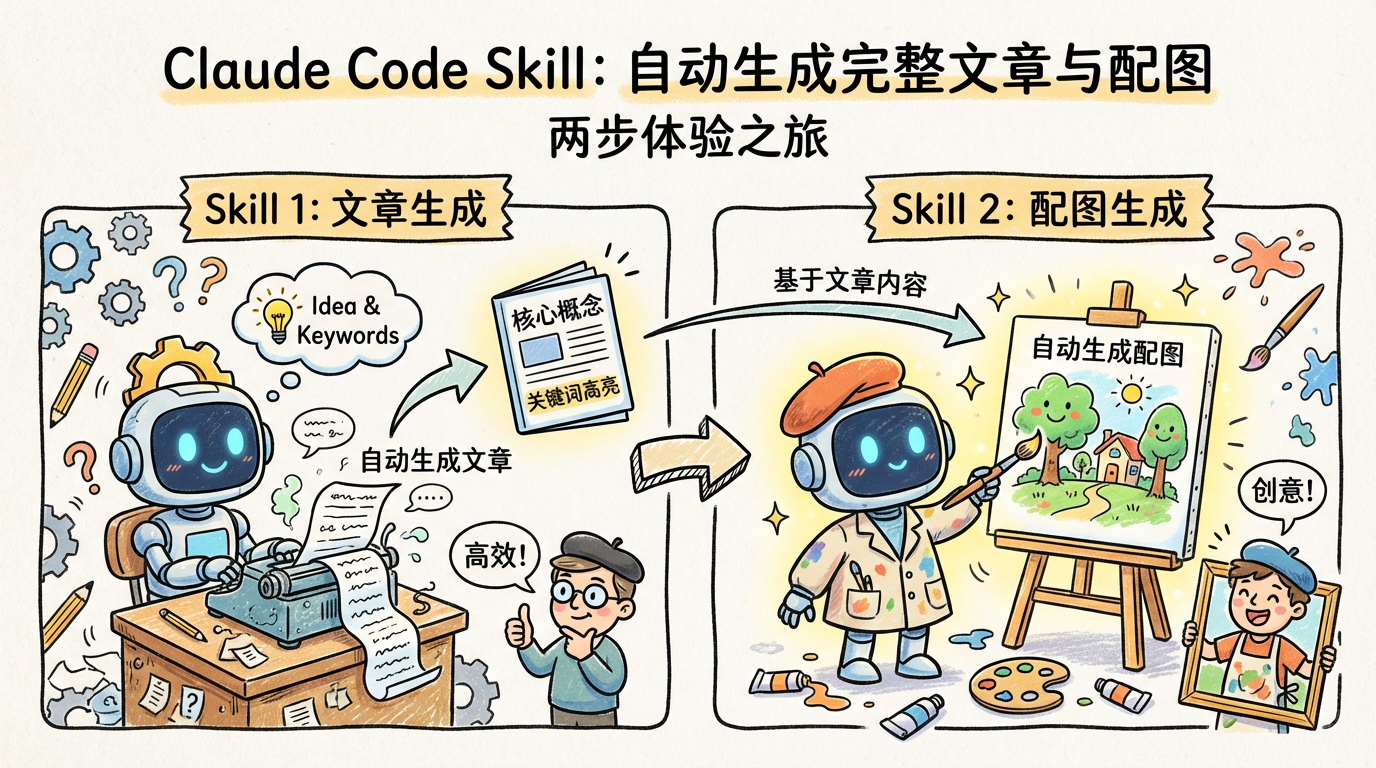
接下来,我们就来开发文章配图的生成功能。
2. Image Generator Skill
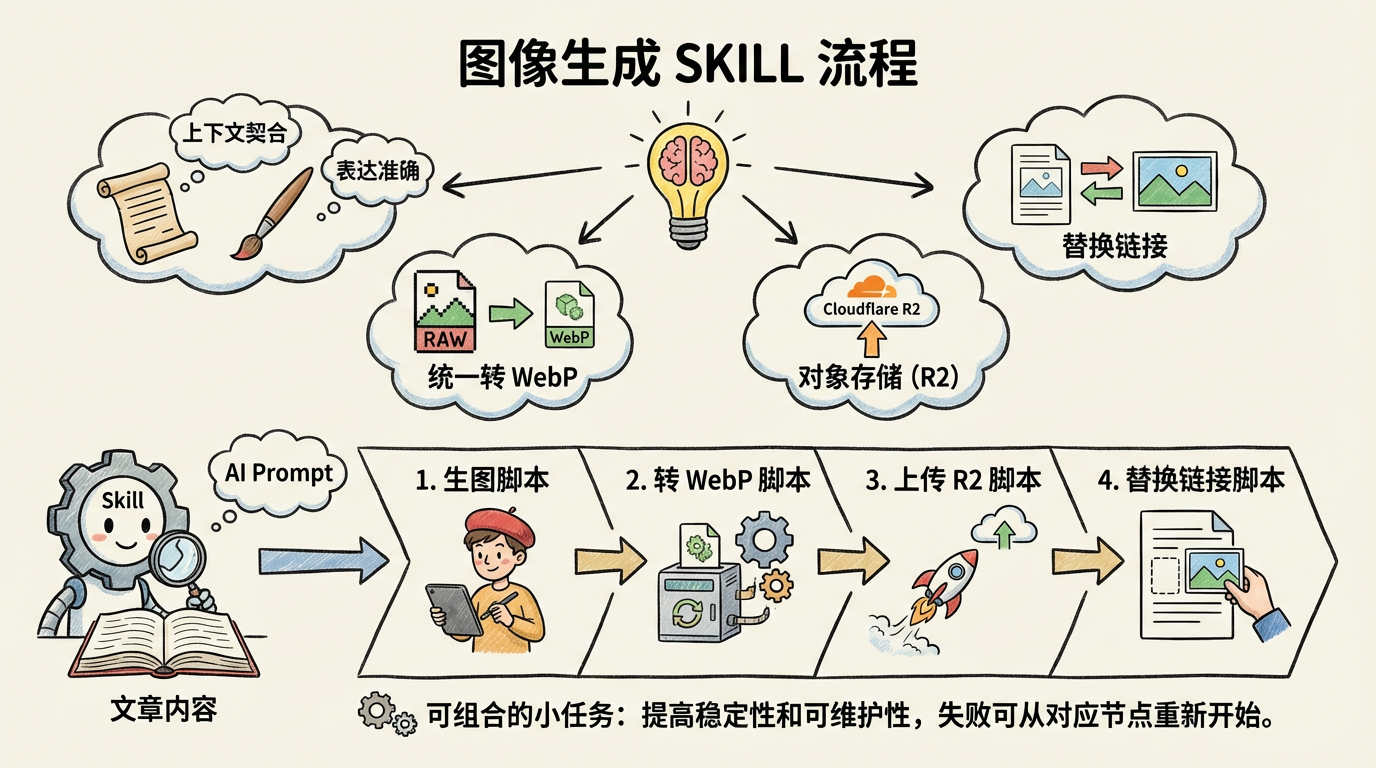
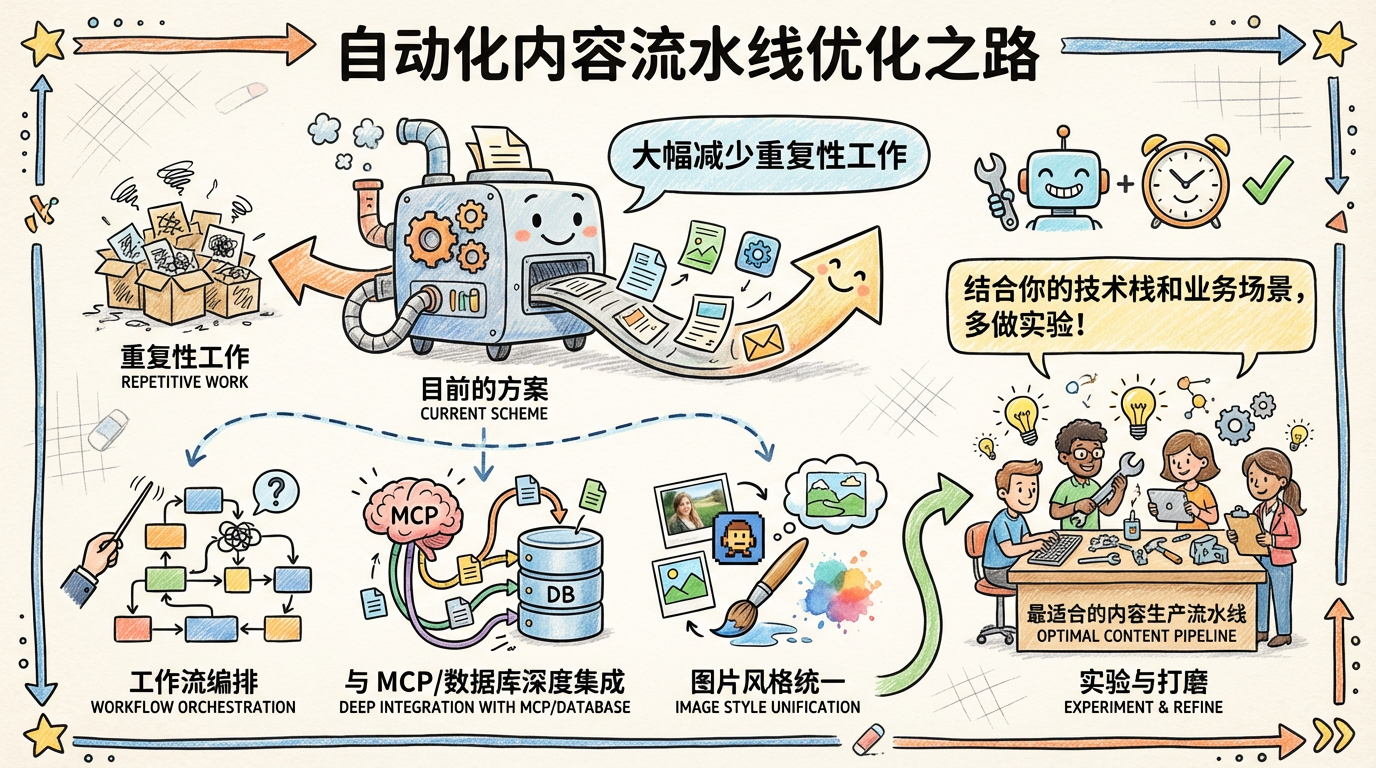
相比生成文章,自动生成配图要复杂得多,主要要考虑下面几个因素:
图片内容要与文章上下文高度契合,表达准确
原始图片通常体积较大,需要统一转成 WebP 格式
图片需要上传到对象存储(例如 Cloudflare R2)
最终要把文章中的占位图链接替换为真实图片地址
好在 Skill 本身是支持执行脚本命令的,我们可以把这些操作拆分成脚本交给 AI 去执行。首先分别开发:生图脚本、转 WebP 脚本、上传 R2 脚本、替换链接脚本。
--- name: image-generator description: Analyze article image placeholders and generate AI image prompts based on context ---
# Image Generator
## Overview
This skill analyzes articles to find image placeholders, understands the surrounding context, and generates high-quality AI image prompts for each placeholder. Prompts are saved as individual markdown files organized by article.
For each placeholder, extract: -**Alt text**: The image description between `[]` -**Filename**: The image filename between `()` -**Context**: The surrounding content (H2 section, paragraphs before/after)
### Step 2: Analyze Context for Each Placeholder
For each image placeholder, analyze:
1.**Section topic**: What H2/H3 heading does this image belong to? 2.**Content purpose**: Is it explaining a concept, showing a comparison, demonstrating a tool? 3.**Adjacent text**: What specific points are being made around the image? 4.**Alt text intent**: What does the alt text suggest the image should show?
### Step 3: Generate AI Image Prompt
Create a detailed prompt that will produce an image matching the article context.
**Filename convention:** - Use the image filename without extension as the slug - Example: `ai-photo-restoration-before-after.png` → `ai-photo-restoration-before-after.md`
## Prompt Generation Guidelines
### For Comparison Images (before/after)
``` Create a split-screen comparison showing [subject] transformation. Left side: [before state description] Right side: [after state description] Include a clear dividing line or label. Professional presentation style. ```
### For Interface/Screenshot Mockups
``` Create a clean UI mockup of [application name] showing [specific feature]. Include: [key UI elements] Style: Modern, minimal interface with [color scheme] Do not include real brand logos or copyrighted elements. ```
### For Concept Diagrams
``` Create an informative diagram illustrating [concept]. Show: [key elements and their relationships] Style: Clean, professional infographic style Use [color palette] with clear labels and arrows. ```
### For Workflow/Process Images
``` Create a step-by-step workflow diagram showing [process name]. Steps: 1. [step] 2. [step] 3. [step]... Style: Horizontal/vertical flow with numbered steps Icons for each step, connected by arrows. ```
### For Tool/Feature Demonstrations
``` Create an illustration showing [tool/feature] in action. Focus on: [key functionality being demonstrated] Include: [contextual elements that show usage] Style: [appropriate style for the tool type] ```
## Quality Requirements
### Prompt Quality Checklist
- [ ] Prompt is specific and detailed (not vague) - [ ] Matches the article's tone and subject matter - [ ] Includes style direction (realistic, illustrated, etc.) - [ ] Specifies composition and layout - [ ] Avoids trademarked terms or specific brand requests - [ ] Provides enough detail for consistent generation
### Context Accuracy
- [ ] Prompt reflects the actual section content - [ ] Image purpose aligns with surrounding text - [ ] Alt text intent is respected and expanded upon
## Output Format
Each saved prompt file should follow this template:
## Brief - **For Article**: Photo Restoration: The Best AI Tools in 2026 - **Section**: Introduction - **Alt Text**: Comparison of damaged old photo and AI-restored result
## Context Summary The article introduces AI photo restoration technology, explaining how it can recover damaged photographs. This image serves as a visual hook demonstrating the dramatic transformation possible with modern AI tools.
Left side: A vintage photograph from the 1960s showing visible damage - faded sepia tones, scratches across the surface, a small tear in one corner, and slight water staining. The photo shows a family portrait with slightly blurred faces.
Right side: The same photograph fully restored - vibrant colors recovered, all scratches and tears digitally removed, faces sharpened and clear, water damage eliminated. The restoration looks natural, not over-processed.
Include a subtle dividing line between the two halves. Add small "Before" and "After" labels in a clean, modern font at the bottom of each side. Professional presentation suitable for a technology article.
Use the AI image generation API to create images from the prompts.
```bash npm run generate-images <article-slug> ```
**What it does:** - Reads all prompt files from `prompts/{article-slug}/` - Calls the image generation API for each prompt - Saves generated images to `images/{article-slug}/` as PNG files
**Output:**`images/{article-slug}/*.png`
### Step 6: Compress Images
Convert PNG images to optimized WebP format.
```bash npm run compress-images <article-slug> ```
**What it does:** - Reads all PNG files from `images/{article-slug}/` - Converts to WebP format with quality optimization - Saves WebP files alongside the originals
**Output:**`images/{article-slug}/*.webp`
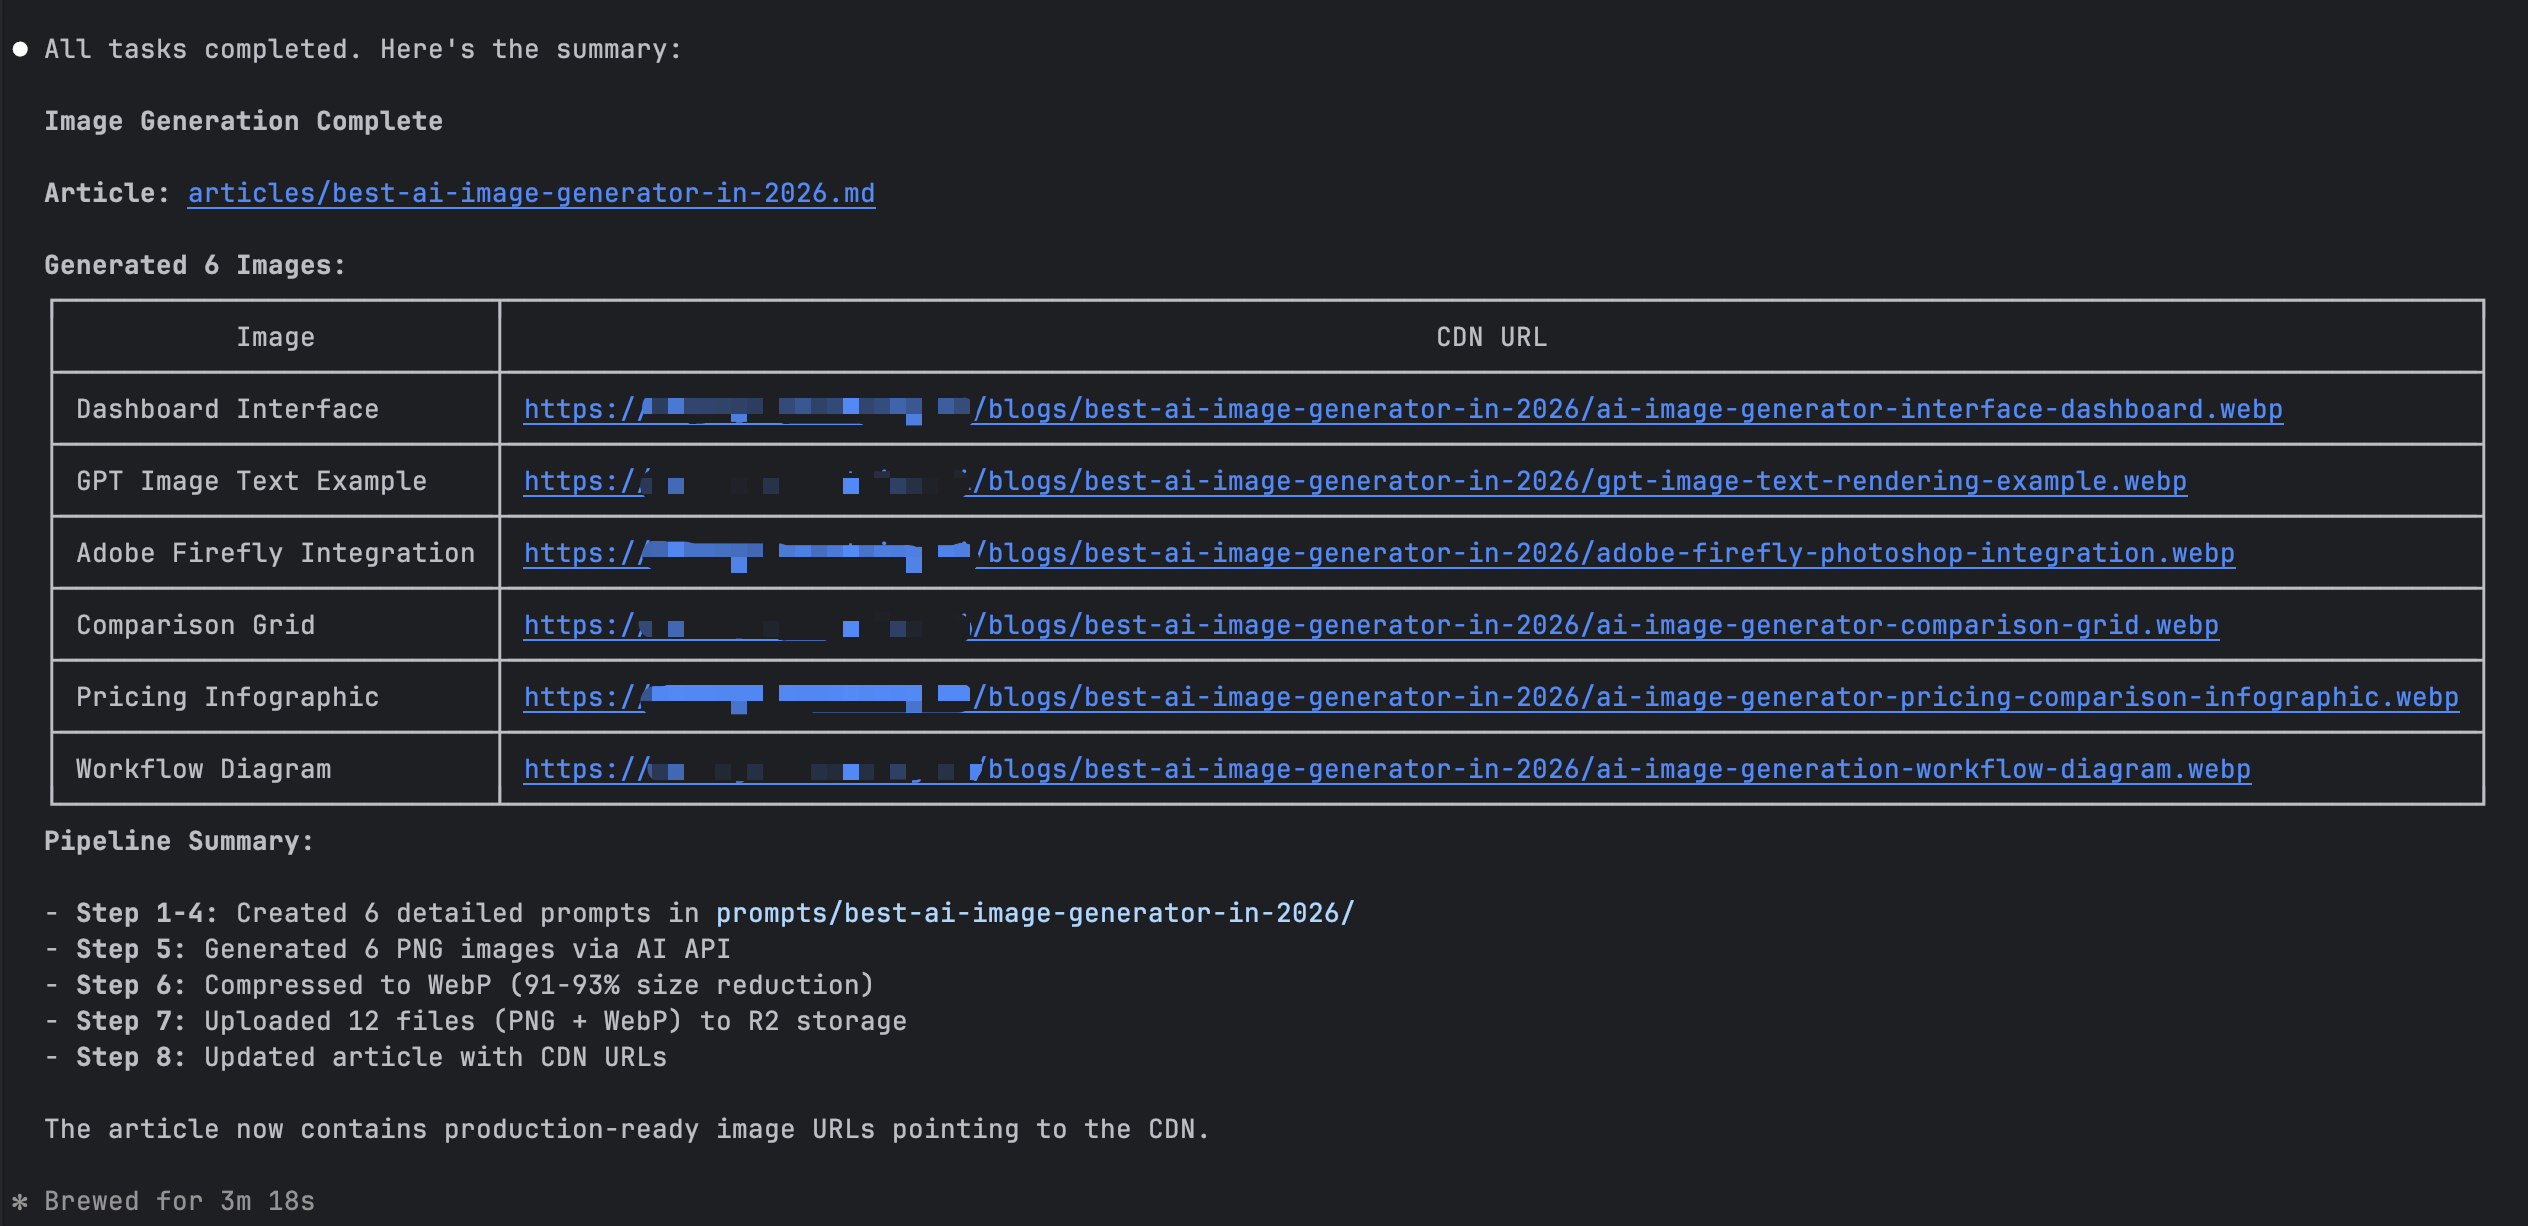
### Step 7: Upload to R2
Upload compressed images to Cloudflare R2 storage.
```bash npm run upload-images <article-slug> ```
**What it does:** - Reads all WebP files from `images/{article-slug}/` - Uploads to R2 bucket at path `{STORAGE_PREFIX}/{article-slug}/` - Reports upload progress and final URLs
**Output:** Images available at `{STORAGE_DOMAIN}/{STORAGE_PREFIX}/{article-slug}/*.webp`
### Step 8: Replace Article Links
Update the article with CDN URLs.
```bash npm run replace-images <article-slug> ```
**What it does:** - Reads `articles/{article-slug}.md` - Replaces all `` with `` - Writes the updated article back
**Output:** Article updated with production image URLs